

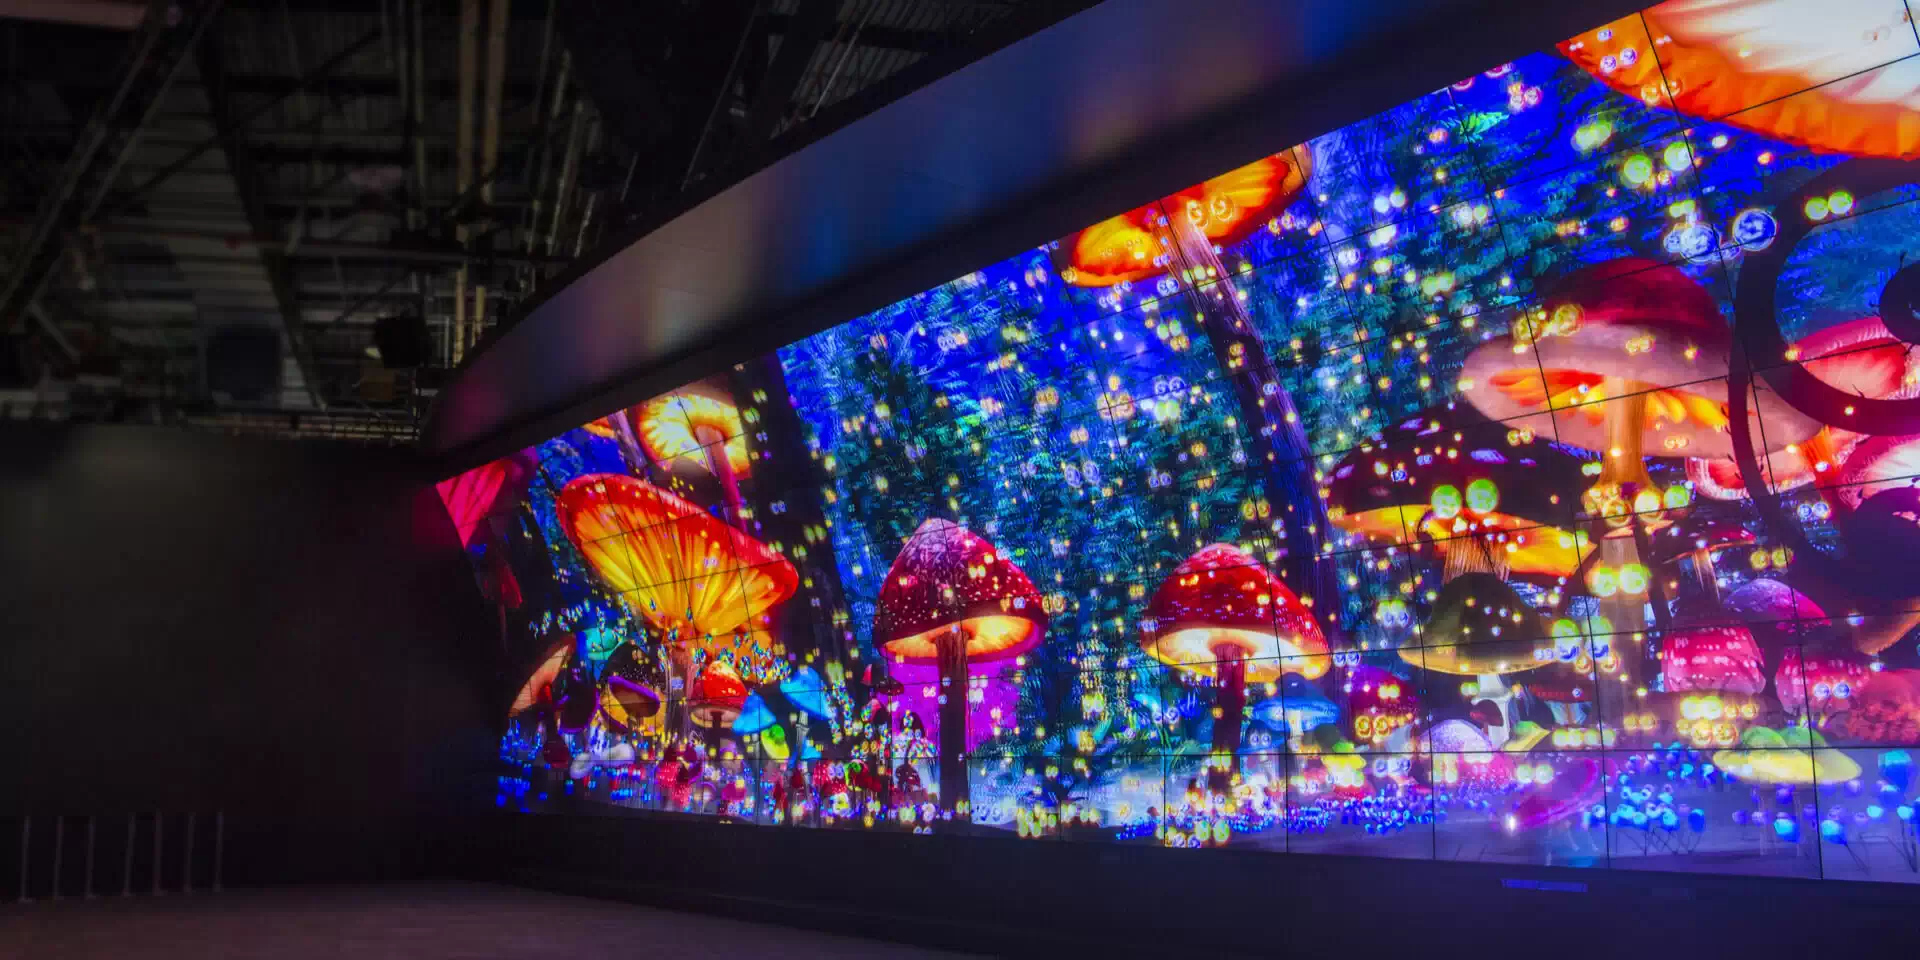
Setting up an LED Wall Rental might sound intimidating, but with the right steps, it can be a smooth and efficient process. Whether you’re preparing for a corporate event, concert, trade show, or wedding, understanding how to properly set up your LED wall ensures a stunning visual display that captivates your audience. Here’s a straightforward guide to help you make the most of your LED wall rental experience.
1. Understand Your Event Requirements
Before diving into setup, start by determining your event’s specific needs. Consider factors such as:
-
Venue size – Indoor or outdoor spaces affect brightness and resolution choices.
-
Audience distance – The closer your audience, the higher the pixel pitch quality required.
-
Content type – Videos, animations, or static images each have unique display requirements.
Knowing these details helps you communicate effectively with your LED Wall Rental provider, ensuring you receive the right equipment and configuration for your event.
2. Choose the Right LED Wall Panels
Not all LED walls are created equal. Depending on your venue and event goals, you can choose between different pixel pitches (the distance between LEDs) and panel types. For outdoor events, go for high-brightness and weather-resistant panels. For indoor venues, finer pixel pitches provide sharper visuals.
Your LED Wall Rental supplier can guide you on the best options based on your budget and audience expectations.
3. Prepare the Installation Space
Before setup, make sure your stage or designated area is clean, flat, and capable of supporting the LED structure’s weight. If you’re setting up indoors, ensure there’s enough ceiling clearance. For outdoor setups, check for stable ground and weather protection.
Plan the placement carefully so the screen is visible to all attendees without obstruction.
4. Assemble and Secure the LED Panels
Once the groundwork is ready, it’s time to assemble your LED panels. Most panels connect through a locking mechanism or mounting frame system that makes alignment straightforward. Ensure each panel is tightly secured and properly aligned to create a seamless display surface.
Safety is crucial here—use proper support trusses or frames to prevent accidents during the event.
5. Connect Power and Data Cables
Each LED panel requires both power and data connections. Power cables deliver electricity to the panels, while data cables transmit visual content from the control system. Organize cables neatly to avoid tangling and ensure stable connections.
Use reliable power sources to prevent interruptions during your presentation or performance.
6. Configure the LED Controller and Software
After the physical setup, connect the LED wall to a controller box or processor. This device manages the input signals from your laptop or media server. Install the necessary control software to adjust brightness, resolution, and color calibration.
Test the display thoroughly—check for missing panels, color inconsistencies, or lag before the event starts.
7. Test and Optimize the Display
Run a few test visuals or videos to evaluate the screen’s performance. Adjust brightness, contrast, and color balance for the best viewing experience. This is also the time to verify synchronization between audio and video elements.
If your event includes dynamic lighting or sound systems, coordinate them with the LED wall to create a unified atmosphere.
8. Get Professional Assistance if Needed
Even with the right knowledge, setting up a large-scale LED Wall Rental can be complex. Hiring professional technicians ensures that installation, calibration, and troubleshooting are handled efficiently. Many rental companies include technical support as part of their package—take advantage of it.
Conclusion
Setting up your LED Wall Rental doesn’t have to be complicated. With proper planning, the right equipment, and attention to detail, you can achieve a stunning, high-impact display that elevates your event’s experience. Whether it’s a small gathering or a large concert, following these easy steps guarantees your LED wall runs smoothly and leaves a lasting impression on your audience.
